AI Agent
Last updated
The AI agent is a chat assistant built into the Revise editor. Ask it to brainstorm, draft, edit, or review the document you have open. It writes into the document as suggestions, and nothing changes until you accept them. This page covers how to use the chat. For what the agent can do, see Agent Capabilities. To rewrite a short text without opening a document, use the AI Rewriter.
Open the chat panel
The chat panel sits to the right of the document. How it opens depends on the width of the browser window.
| Window width | Chat panel |
|---|---|
| 1196px and wider | Always open beside the document. |
| 1000px to 1195px | Mostly hidden past the right edge. Click the visible strip to slide the panel out. Click the document to hide it again. |
| Narrower than 1000px | Click AI Agent at the bottom of the window. Below 890px, the panel opens over the document. |
The panel is 450px wide. It can't be resized or closed. Press ⌘L to put the cursor in the chat input from anywhere in the editor. See agent chat shortcuts.
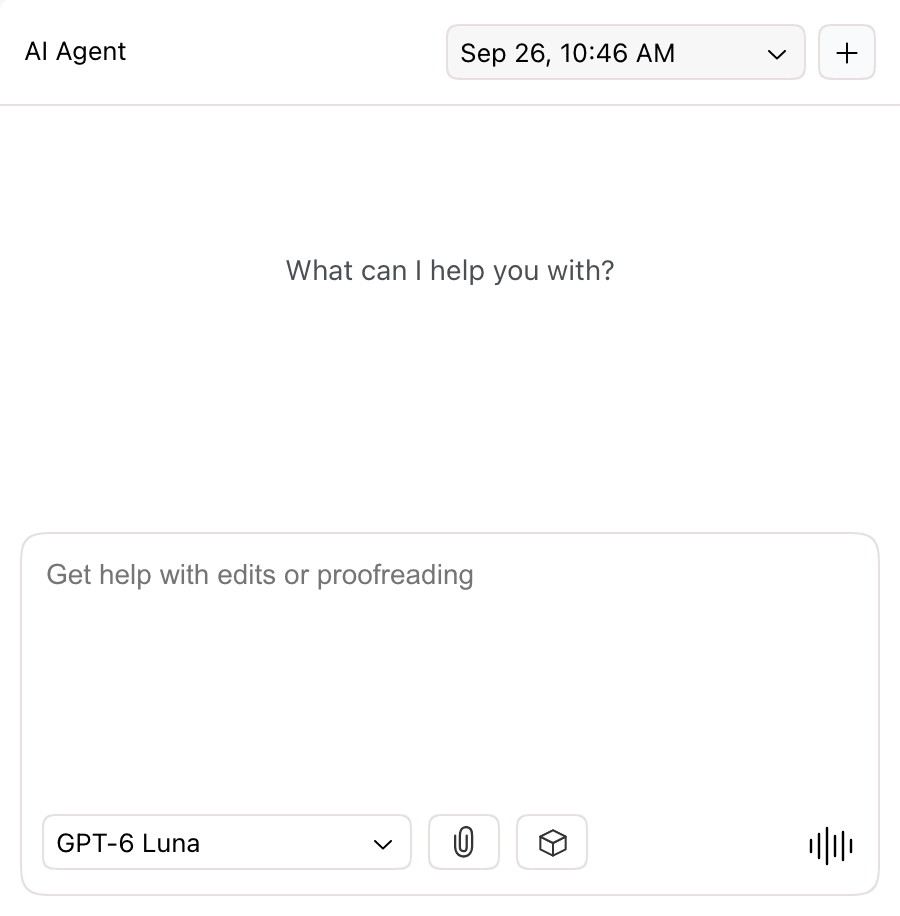
| Control | Location | Use |
|---|---|---|
| Conversation list | Panel header | Switch to another conversation on this document. Appears once there are two or more. |
| New Conversation (+) | Panel header | Start a new conversation. |
| Model picker | Below the input, left | Choose the AI model. Shows the current model. |
| Attach File (paperclip) | Below the input | Attach files to your next message. |
| Saved Prompts (cube) | Below the input | Insert a prompt you saved. See Saved Prompts. |
| Send, voice, or stop | Below the input, right | Sends the message. With an empty input, starts voice mode. During a request, stops it. |
Send a request
- Click the chat input, or press ⌘L.
- Type what you want, such as "Draft an introduction for this report". Press ⇧Enter for a new line.
- Press Enter or click the send button.
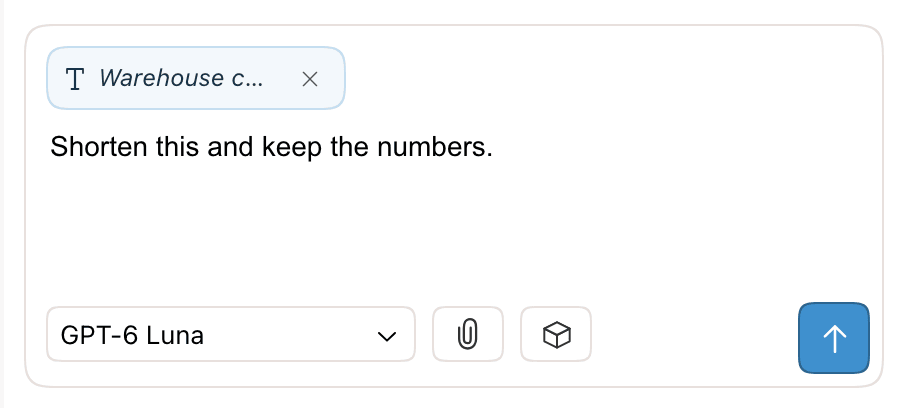
To work on one passage, select it in the document first. The selection attaches to your message as a chip, and the input reads Get help with this selection. Click × on the chip to remove it. See Giving the Agent Context.
On an empty document, the panel offers starter prompts such as Brainstorm ideas and Write a first draft. Click one to send it. Import Document opens a .docx, .pdf, .md, or .txt file into the document.
While the agent works, a status line shows the current step. You can stop the request or send more instructions. See Follow and steer a request. If you try to leave the page during a request, the browser asks you to confirm.
Choose a model
Click the model picker below the chat input and choose a model. Hover over a model to see its description, features, and how much of your usage limit it uses compared with GPT-6 Luna.
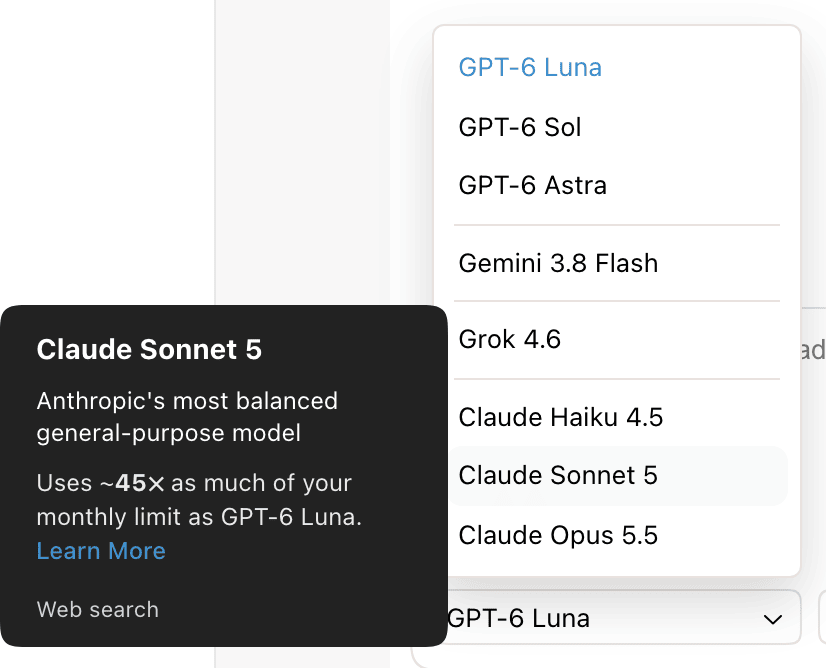
- The default model is GPT-6 Luna. The picker remembers your last choice in this browser for new conversations.
- A new choice applies from your next message. You can switch models within a conversation.
- Models your plan doesn't include show the plan name. Choosing one opens an upgrade offer, or account creation if you aren't signed in.
For the full model list and plans, see Supported AI Models. For how models count toward your limit, see AI Usage and Limits.
Attach files
- Click Attach File (the paperclip) below the chat input, or drag files onto the chat panel.
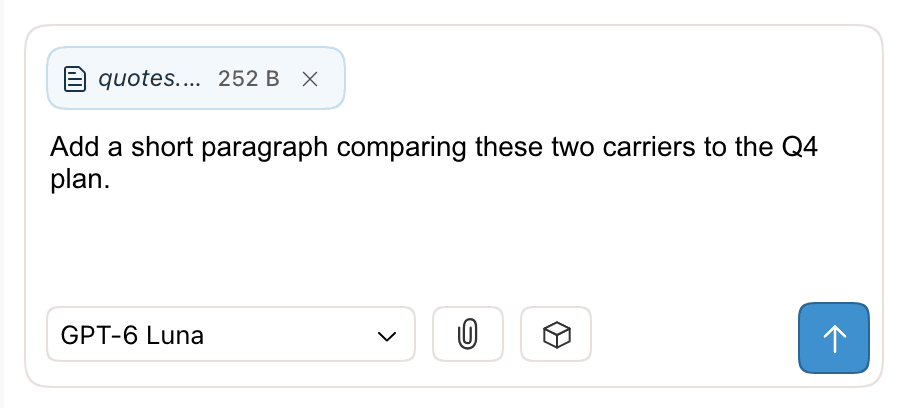
- Each file appears above the input as a chip with its name and size. Click × on a chip to remove it.
- Type your request and send it.
The agent reads text, Markdown, HTML, code, DOCX, PDF, and image files. Grok models can't read PDFs (see features by model). Pasting 500 or more characters into the input creates an attachment instead of a long message. You can't attach files while a request is running. File types and size limits are in Giving the Agent Context.
When a request finishes
The chat shows how long the agent worked and a short reply. If the agent proposed edits, Suggested N changes appears with Review Changes, Accept All, and Reject All. The edits are already in the document as suggestions: added text in green, removed text in red.
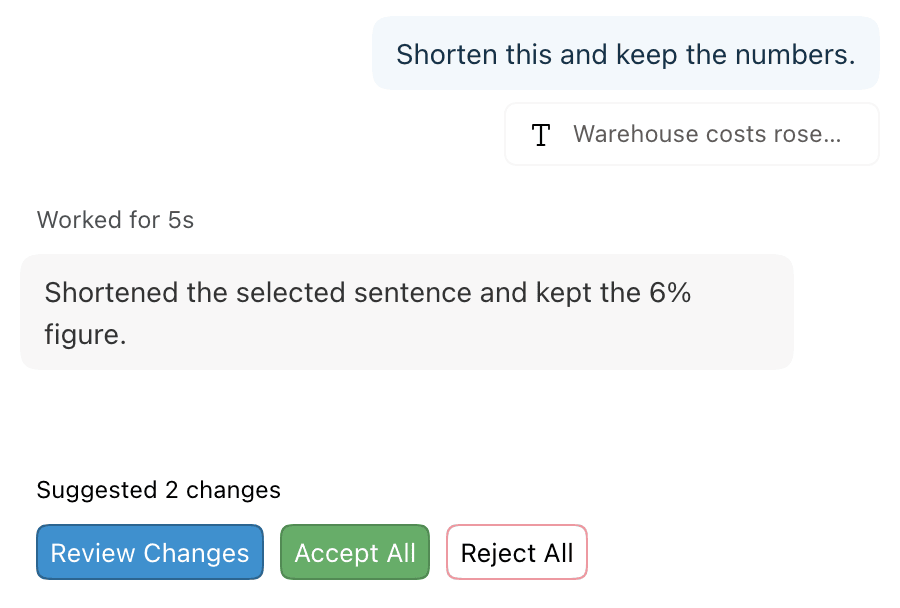
To accept or reject changes one at a time, see Reviewing AI Changes. A reply can also include follow-up prompts or a button that opens a feature. See Replies and next steps.
Copy, save, or resend a prompt
Right-click a message you sent to open its menu.
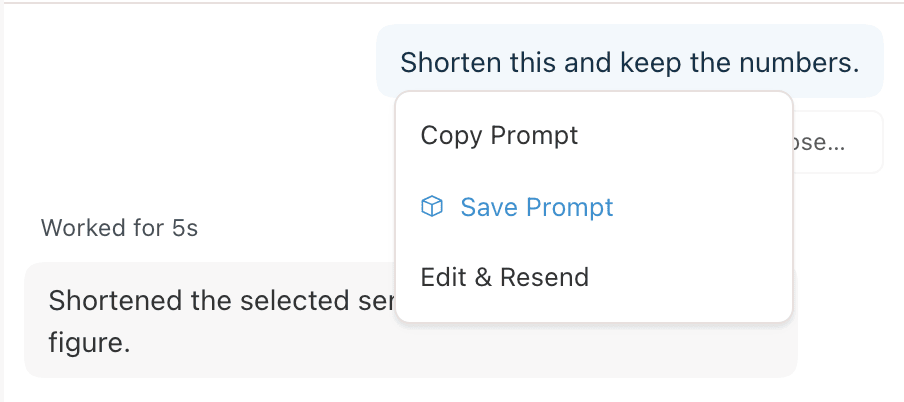
| Item | Action |
|---|---|
| Copy Prompt | Copies the message text. |
| Save Prompt | Adds the message to Saved Prompts. |
| Edit & Resend | Removes the message and the reply after it from the conversation. The text goes back into the input to edit. Only for your latest message, and not during a request. Suggestions from the removed reply stay in the document. |
Start a new conversation
Click + (New Conversation) in the panel header. The button does nothing while the current conversation is empty. A new conversation starts without the earlier messages. The agent still reads the document.
Once a document has two or more conversations, a list appears in the header, labeled with the time each was last opened. Choose one to switch to it.
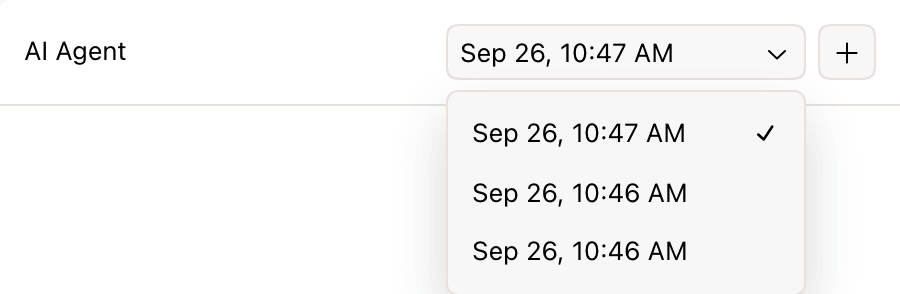
Conversations belong to the document and are saved automatically. They are private to you: collaborators on a shared document have their own. Suggestions from any conversation stay in the document until someone accepts or rejects them. See Conversations.
Voice mode
In voice mode you talk to the agent and it answers aloud. Voice mode requires a Pro or Max plan. On other plans, the voice button opens an upgrade offer.
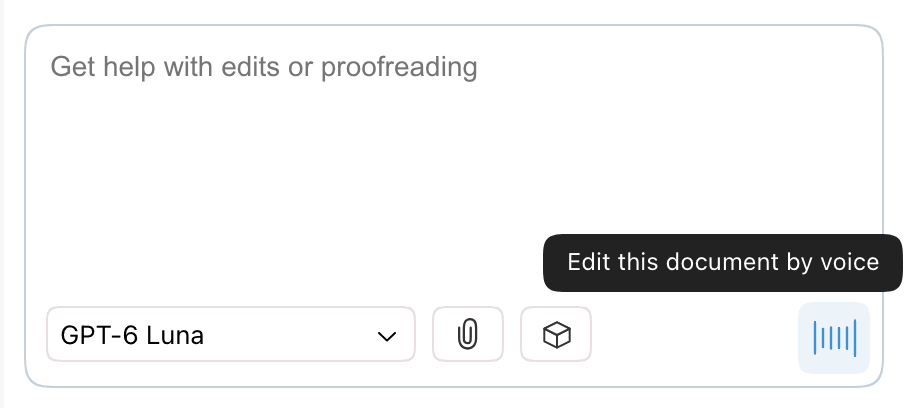
- Clear the chat input. The voice button replaces the send button. Its tooltip reads Edit this document by voice.
- Click it and allow microphone access. The panel shows Connecting, then a waveform in place of the input.
- Speak your request. The agent replies aloud, and both sides appear in the chat as text. Edits arrive as suggestions, as with typed requests.
- To end voice mode, click the stop button (Turn off voice mode).
- Choose the agent's voice from the menu beside the stop button. The default is Marin.
- After 2 minutes without speech, the session pauses with the message We paused your voice session because it was idle. Click Resume to continue.
- You can't attach files or change the model during voice mode. Stop any running request before you start it.
- Voice mode counts toward your AI usage.
To type by speaking instead, use Voice Dictation.
Requirements and limits
| Item | Limit |
|---|---|
| No account | One message. Your next message waits in the chat while you create a free account, then sends. See accounts and anonymous use. |
| Free plan models | GPT-6 Luna and Claude Haiku 4.5. |
| Voice mode | Pro or Max. |
| Usage | Every plan has a usage limit. See what happens when you reach it. |
| View-only documents | The agent answers questions but can't edit. Voice mode is off. |
| Pasted text | 500 characters or more becomes an attachment, up to 250,000 characters. |
| PDF attachments | Up to 20 pages per message on Free, 100 pages on paid plans. Importing a PDF into a document has separate PDF import limits. |