Editing & Formatting
Last updated
Text and paragraph formatting is on the Edit tab of the ribbon above the document. Formatting applies to the selected text. With no selection, character formats such as bold apply to the next text you type. The full shortcut list is in Keyboard Shortcuts.
The Edit ribbon
Hover over a button to see its name and shortcut. The groups from left to right:

| Group | Controls |
|---|---|
| History and clipboard | Undo, Redo, Paste, Cut, Copy |
| Font | Font, size, Bold, Italic, Underline, Text Color, Text Highlight, More Formatting (the three dots) |
| Paragraph | Paragraph style, Line Spacing, alignment, text direction |
| Links, indents, and lists | Create Link, Decrease Indent, Increase Indent, Unordered List, Ordered List, Todo List |
Insert, after the lists, opens the Insert tab (see Tables, Images & More). Then come Find, Dictate (see Voice Dictation), Print, and Export (see Importing & Exporting). Page size and margins are on the Layout tab (see Page Layout).
Headings and paragraph styles
- Put the cursor in a paragraph, or select several.
- Open the style menu. It shows Normal for body text.
- Choose Heading 1 through Heading 6, or Normal to turn a heading back into body text.
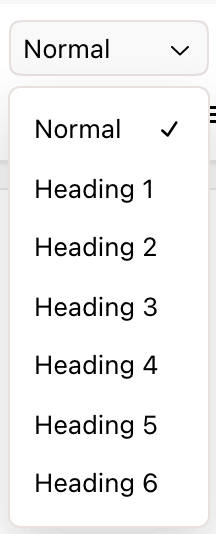
Headings have no keyboard shortcut. They build the table of contents (Insert tab, Contents) and export to Word as heading styles. The AI agent also uses them to find its way around long documents.
Bold, italic, underline, and strikethrough
Bold, Italic, and Underline are buttons on the ribbon. The other character styles are in the More Formatting menu, the three dots next to the highlight button. The menu marks an active style Current. Choose it again to remove it.
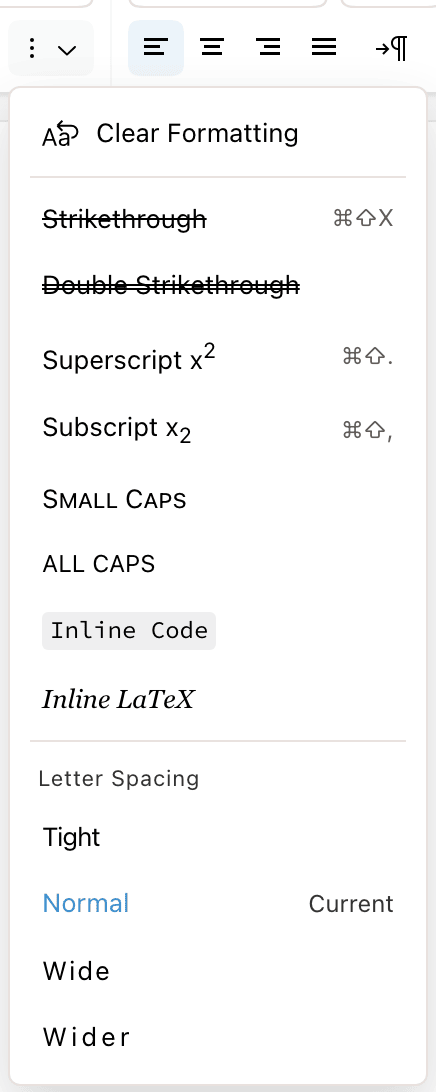
| Style | Where | Shortcut |
|---|---|---|
| Bold | Ribbon | ⌘B |
| Italic | Ribbon | ⌘I |
| Underline | Ribbon | ⌘U |
| Strikethrough | More Formatting | ⌘⇧X |
| Double Strikethrough | More Formatting | None |
| Superscript | More Formatting | ⌘⇧. |
| Subscript | More Formatting | ⌘⇧, |
| Small Caps, All Caps | More Formatting | None |
| Inline Code | More Formatting | None |
| Inline LaTeX | More Formatting | None |
| Letter Spacing: Tight, Normal, Wide, Wider | More Formatting | None |
Inline Code sets text in a monospace font on a shaded background. For several lines of code, insert a code block instead. Inline LaTeX renders the selected text as a math formula. For a formula on its own line, insert an equation.
Fonts and font sizes
The font menu is the first control in the Font group. Click it and type to filter the list.
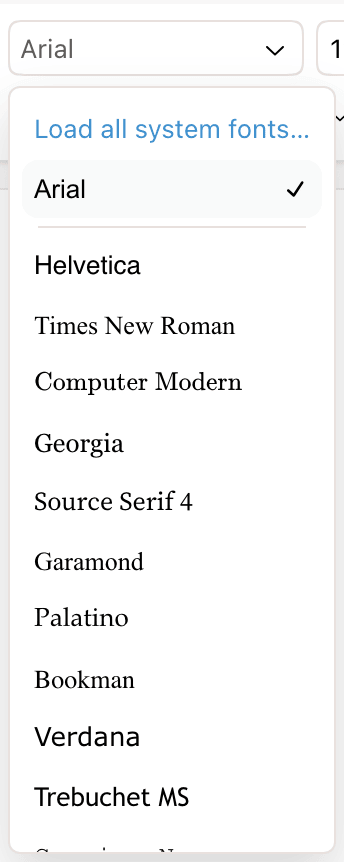
- Fonts already used in the document are listed first.
- A font the document uses but your computer doesn't have is marked (substituted). Revise draws a similar font in its place and keeps the original font name in the document.
- In Chrome and Edge, Load all system fonts… adds every font installed on your computer. The browser asks for permission once. Fonts loaded this way are embedded in PDF exports.
The size menu lists sizes from 8 to 72 points. To set the font new documents start with, open Settings, then Documents, then Default font. For fonts in imported Word files, see Word (.docx) Compatibility.
Text color and highlight
Text Color and Text Highlight are split buttons. The main button applies the last color you picked: red for text, yellow for highlight. If the selection already has that format, the button removes it. The arrow next to each button opens its colors.
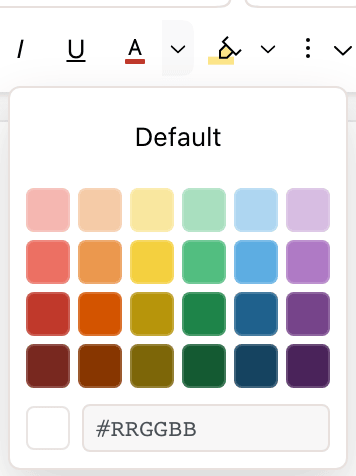
- The text color menu has six hues in four shades. Default removes the color. For any other color, type a hex value such as
#1f618din the field at the bottom and press Enter. - The highlight menu has seven colors: yellow, orange, green, blue, purple, pink, and gray. The first cell, a diagonal line, removes the highlight.
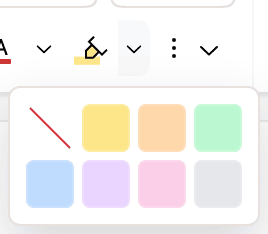
In dark mode, text colors and highlights are drawn lighter or darker so they stay readable. The stored color does not change. Colors in imported and pasted documents are kept, and export to Word, HTML, and PDF.
Lists and checklists
Click Unordered List, Ordered List, or Todo List to turn the current paragraphs into a list. Click the same button again to remove the list. You can also start a list by typing at the beginning of an empty paragraph:
| Type | Result |
|---|---|
A hyphen (-) or asterisk (*), then a space | Bulleted list |
1., then a space | Numbered list. Any number works: 5. starts at 5. |
[], then a space | Checklist |
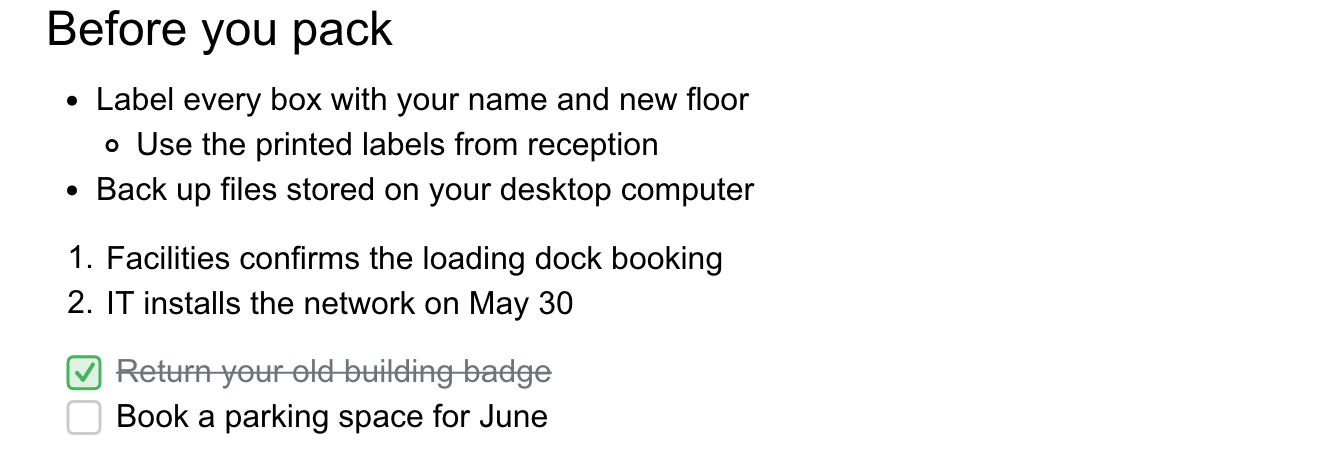
- Press Tab to nest an item one level and ⇧Tab to move it back. Lists nest up to three levels.
- Press Enter on an empty item to end the list.
- Click a checkbox to check an item. Checked items are struck through in gray.
- To change numbering, right-click a numbered list and open List Numbering. It has Continue Previous Numbering, Restart Numbering at 1, and Set Numbering Value.
Links
- Select the text to link.
- Click Create Link or press ⌘K. A Link URL panel opens in the left margin.
- Type the address and press Enter. An address without
https://gets it added.
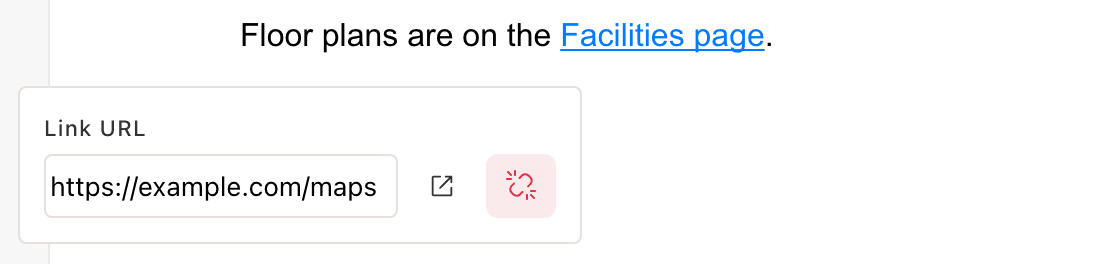
Put the cursor in a link to open its panel again. Edit the address there. The arrow button opens the link in a new tab, and the broken-link button removes the link. Esc discards an unsaved edit. An address that isn't valid is outlined in red and not saved.
If the selected text is itself a web address, it becomes the link. A web address you type becomes a link when you press Space or Enter after it.
Alignment, line spacing, and indentation
These controls apply to every paragraph the cursor or selection touches.
| Control | Options |
|---|---|
| Alignment | Align Left, Align Center, Align Right, Justify |
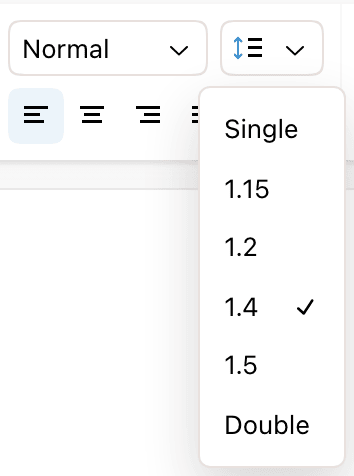
| Line Spacing | Single, 1.15, 1.2, 1.4, 1.5, Double |
| Text direction | Automatic (follows the paragraph's text), Left to right, Right to left |
| Increase Indent | The first click indents the first line. Each further click indents the whole paragraph one more step. |
| Decrease Indent | Reverses Increase Indent one step at a time. |
Tab at the start of a paragraph and Increase Indent do the same thing. The first press indents the first line. Later presses indent the whole paragraph. ⇧Tab works like Decrease Indent. Tab anywhere else inserts a tab character. The indent buttons don't change lists; use Tab in a list instead. The indent step is 0.5 inches by default and is set in Page Layout.
Clear formatting
Select text, open More Formatting, and choose Clear Formatting. It removes bold, italic, underline, both strikethroughs, superscript, and subscript. It also removes small caps, all caps, letter spacing, inline code, inline LaTeX, highlight, and links.
It keeps the font, the size, and the text color. Paragraph formatting (style, alignment, spacing, lists) does not change.
Find and replace
- Click Find or press ⌘F. The panel opens at the top left of the document.
- Type in the Find... field. Every match is highlighted, and the panel shows which match is selected, such as 1 of 3.
- Press Enter for the next match or ⇧Enter for the previous one. The arrow buttons do the same.
- To replace, type in Replace with..., then click Replace for the current match or All for every match.
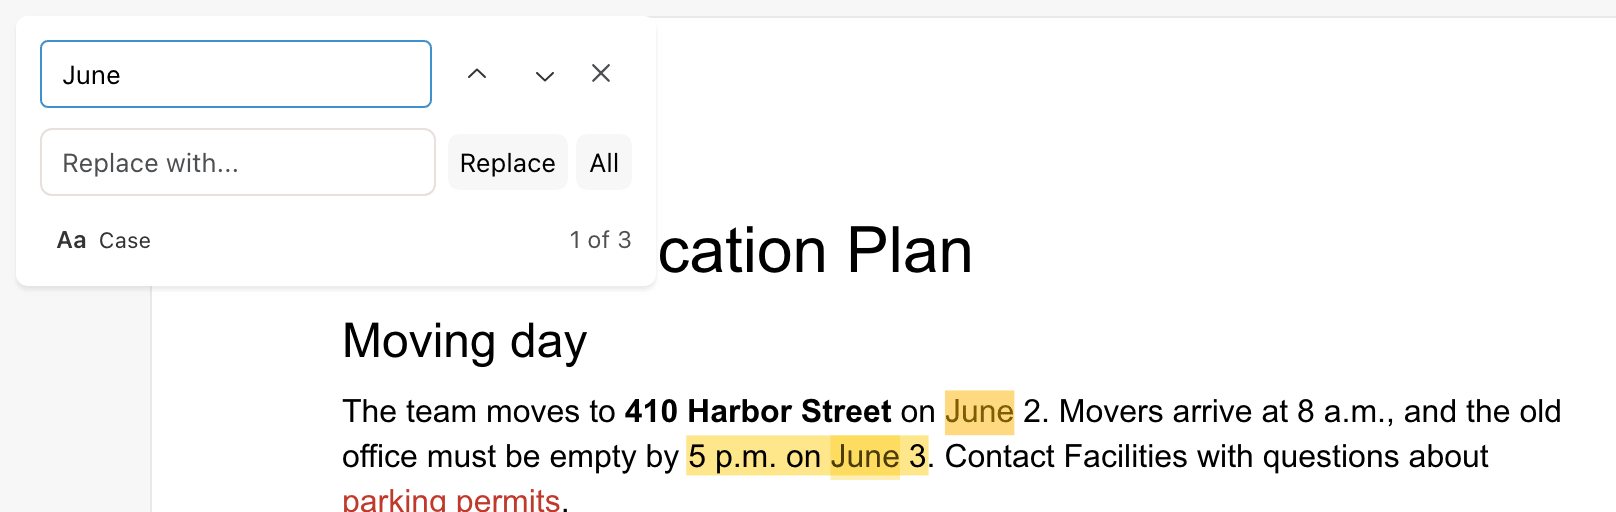
Search ignores case until you turn on Case. In the replace field, Enter replaces the current match and ⇧Enter replaces all. Esc closes the panel. ⌘F opens this panel, not the browser's search. In a document you can only view, the panel has no replace field.
Undo and redo
| Action | Button | Shortcut |
|---|---|---|
| Undo | Undo | ⌘Z |
| Redo | Redo | ⌘⇧Z or ⌘Y |
Edits made within about a second of each other undo as one step. Undo reverses only your own edits, not those of other people in the same document. Undo and redo are also in the right-click menu. To go back further, use Revision History.
Copy and paste
⌘C, ⌘X, and ⌘V copy, cut, and paste with formatting. Text copied from Revise keeps its formatting in Word, Google Docs, and other Revise documents. Text pasted from Word, Google Docs, and web pages keeps its formatting too.
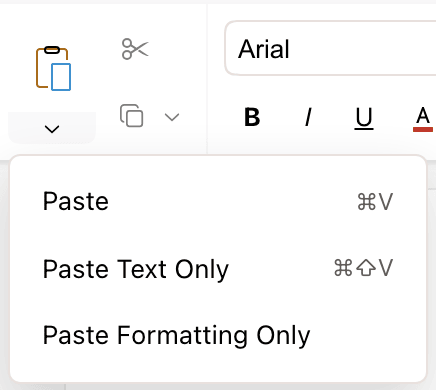
| Option | What it does |
|---|---|
| Paste Text Only (⌘⇧V) | Pastes the text without formatting. |
| Paste Formatting Only | Applies the formatting of the copied text to the selected text. The selected words don't change. |
| Copy as Plain Text, Copy as Markdown, Copy as HTML | Copies the selection as source text in that format. They are in the menu next to the Copy button, and under Copy as in the right-click menu. |
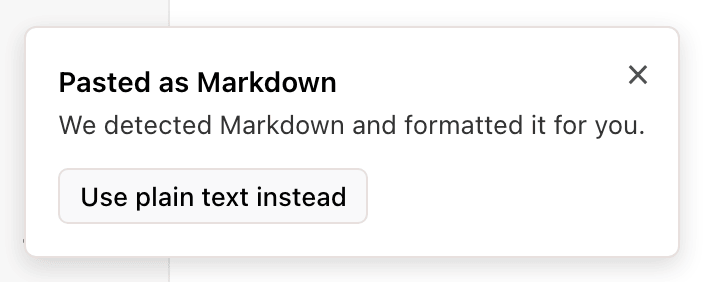
Plain text that is Markdown or HTML source is formatted when you paste it. A notice in the bottom left reads Pasted as Markdown or Pasted as HTML. Click Use plain text instead to get the raw text back. Text pasted into a code block is never formatted.
Tab-separated text, as copied from a spreadsheet, pastes as a table. Pasted images are uploaded and inserted.
Formatting as you type
Besides the list shortcuts in Lists and checklists, Revise changes some text as you type:
| You type | Result |
|---|---|
| A web address, then a space | A link |
| Straight quotes | Curly quotes |
-- between words | An em dash |
A paragraph of only ---, ___, ===, ***, -**-, or -<>-, then Enter | A horizontal line |
To stop the quote and dash changes, turn off Smart Unicode on the Tools tab. All typed shortcuts are listed in Keyboard Shortcuts.